March 30th, 2010 by Ron Branch
 Booth-building series Click this link to read from the beginning post.
In 1997 Micky and I made our first attempt at fulfilling our dream of living in the Pacific North West. Without much of a plan, we rolled into town with our 3-year-old and all our stuff, moved into an apartment and started job-hunting. Looking back on it now, it seems like a crazy and impulsive move, but such was our passion about the beauty up north. Within a couple weeks I was fortunate enough to end up with a job at Read the rest of this entry »
glass art, moisture, sandblast booth, Vancouver Wa.
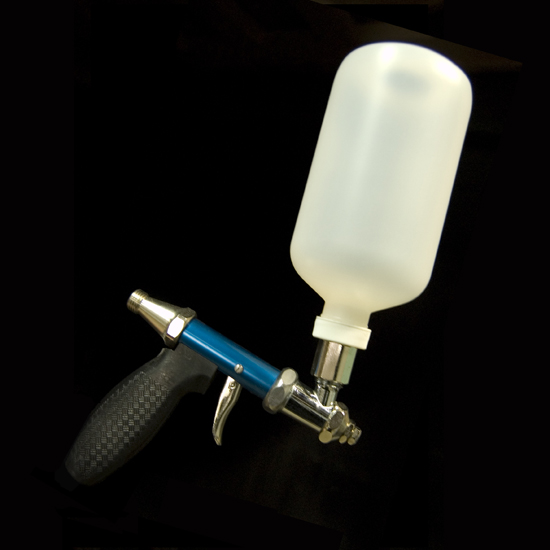
March 22nd, 2010 by Ron Branch
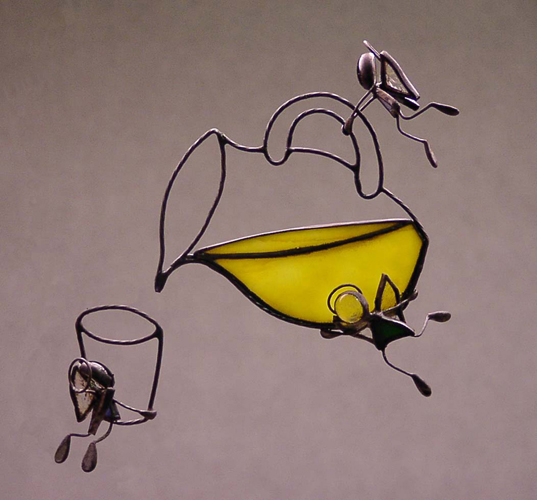
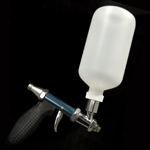 This is my fifth Paache of this type over the last eight or so years, so they last me a little over a year – not bad considering what I put them through. Its possible that the way I use it causes extra wear and tear – I’ll look into that with this one. It’s the best gun I’ve found so far. It’s not perfect, but it’s close. I’ll be breaking it in with a new freehand portrait technique, hopefully in the next few days. I’m still trying to decide whose face to do – I’m open to suggestions. I do know I would like it to be someone well-known, someone recognizable.
Paache, Sandblast, tools, Vancouver Wa.
March 21st, 2010 by Ron Branch
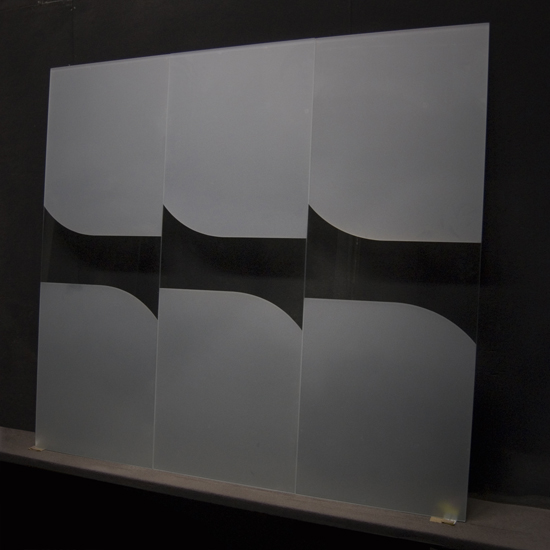
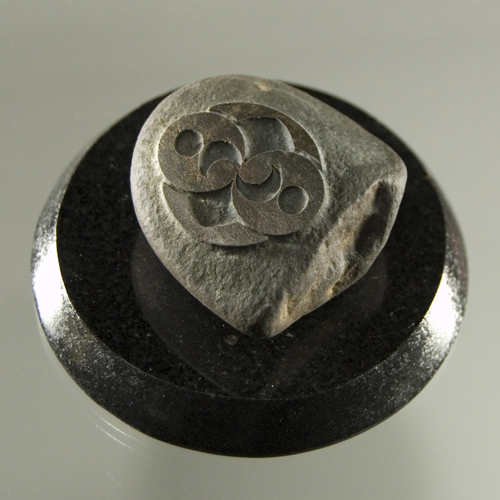
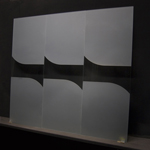 Sometimes simple projects can be more difficult than they look. One would assume in looking at the lines in this design that they are the simple combination of a line and an arc, but not so. The curve of the arc actually lessens to meet the line – more like an oval.
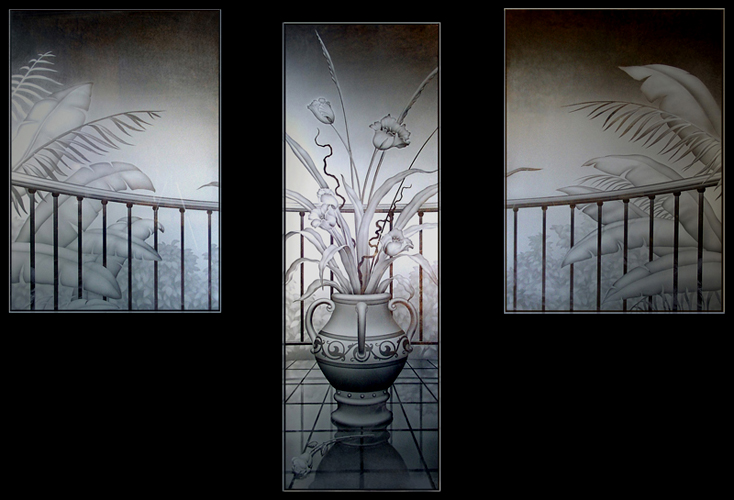
One of the more difficult tasks in sandblasting is shading large areas evenly. There are no guarantees that your sand will shoot with perfect consistency, in fact I can almost promise you it won’t. Nor is it possible to force the human body to perform with absolute machine like precision. Shadows in the booth can also deceive the blaster into thinking it looks perfect.
These are all reasons that being an adrenaline junky is a helpful personality trait in this business. The challenge in this project was to try to evenly blast the middle areas. Click on the thumbnail to see how it turned out.
door glass, Projects
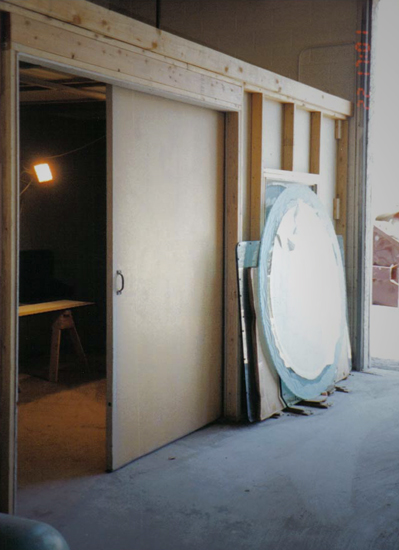
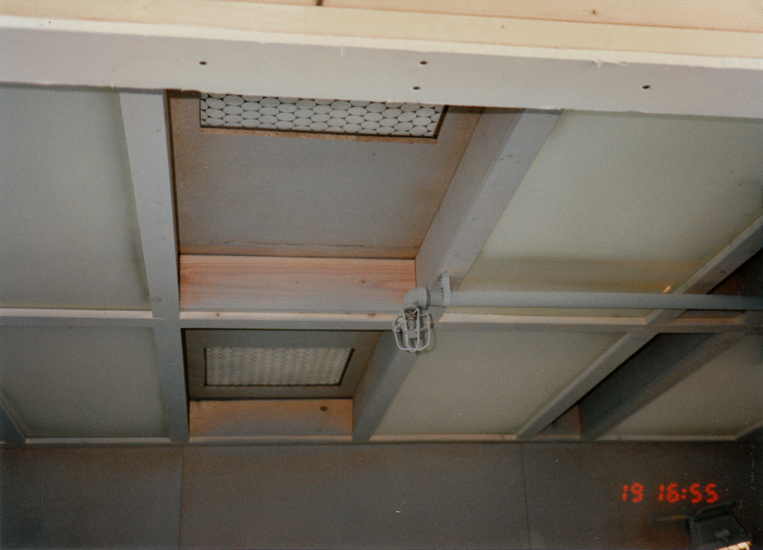
March 15th, 2010 by Ron Branch
Booth-building series Click this link to read from the beginning post.
It was approximately 1995 – The new building was of block construction, was a rental, and although situated in an industrial area, had neighboring businesses to consider. These are common hurtles that often have to be overcome when building a sandblast booth in a commercial setting. There were also genuine construction issues to solve… what we came up with was not ideal – but it DID work … well sorta. Read the rest of this entry »
dust, filters, glass art, sandblast booth, Vancouver Wa.
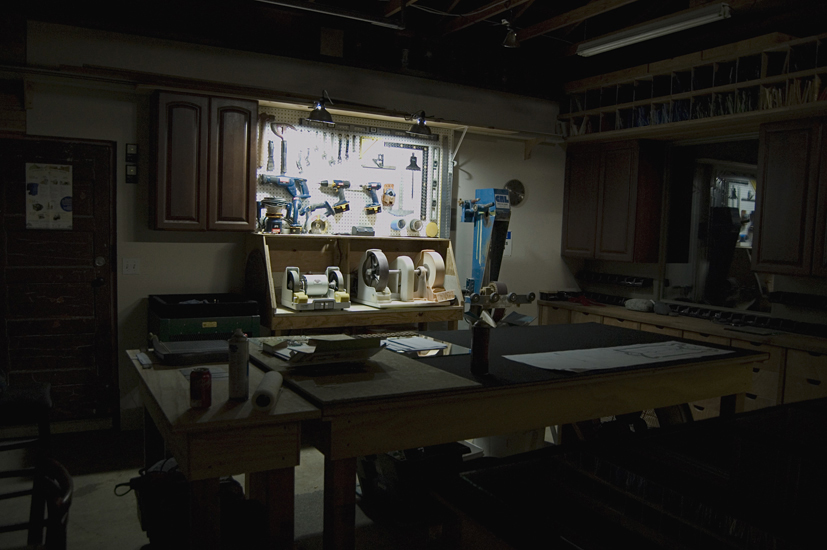
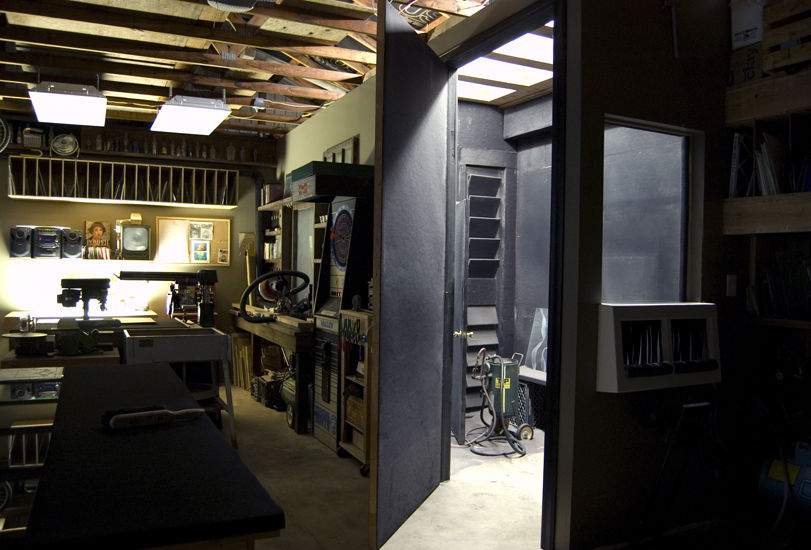
March 13th, 2010 by Ron Branch
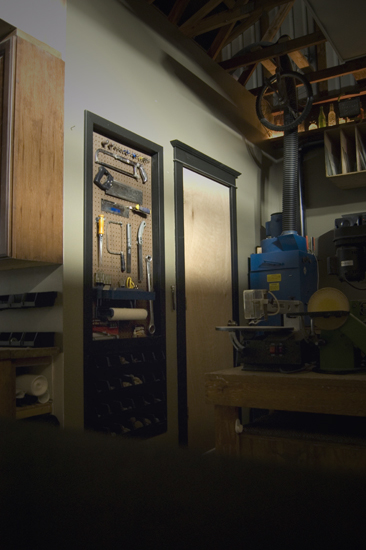
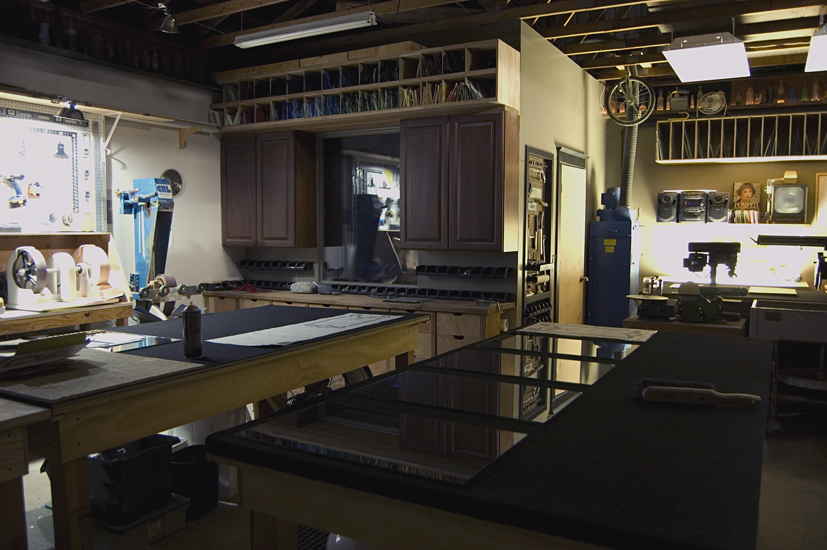
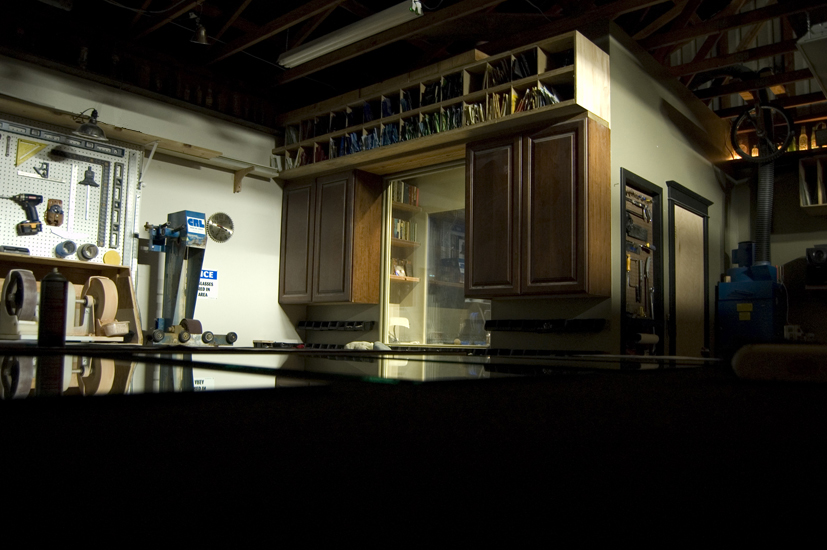
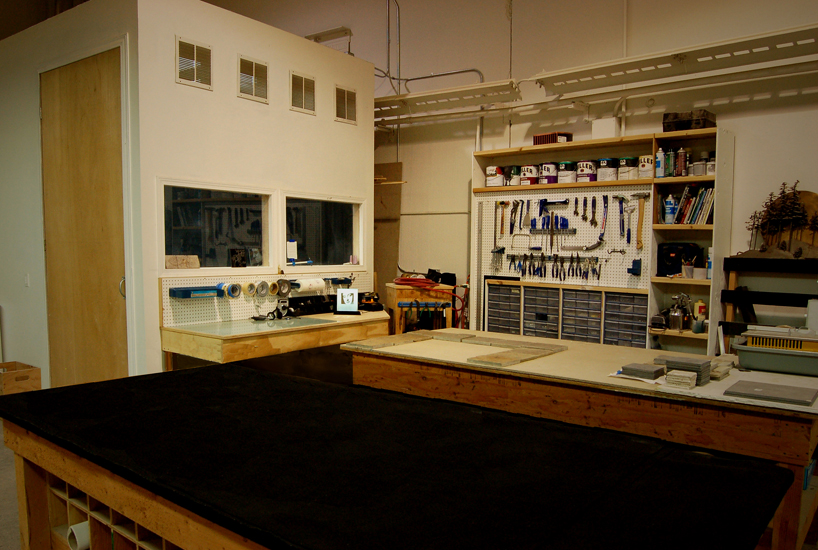
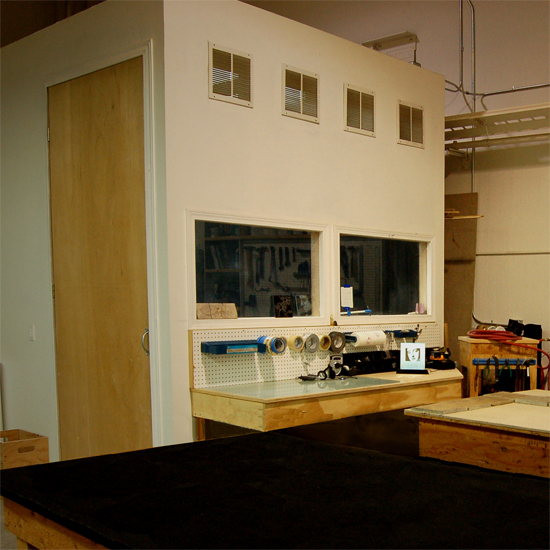
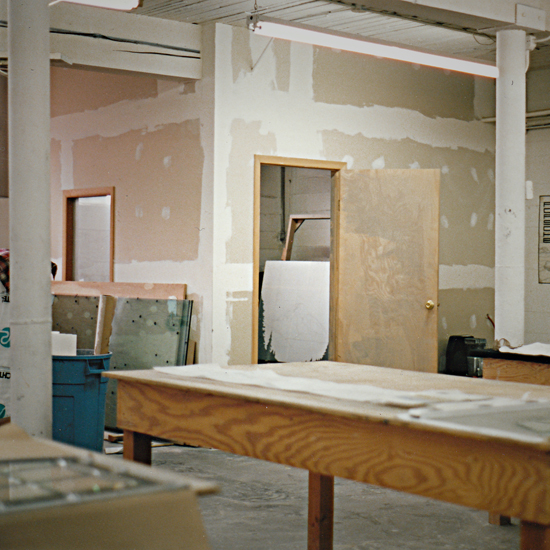
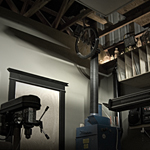 Took some photos of my little workshop last night. To check them out, click on the image to the left.
Construction is done for now. There is still plenty I would love to do to the place, such as putting in a ceiling, and doing something with the floor – but those things will have to wait for a while, I have actual glass jobs to do!
March 9th, 2010 by Ron Branch
Booth-building series Click this link to read from the beginning post.
Actually, in the beginning there was no booth. At the studio where I had first been employed as a glass artist, I had worked outdoors in a vacant lot. They had been doing it there for I don’t know how many years, and so it was like standing amongst blinding white dunes of silica. Thinking back on it has that same surreal quality as remembering that there was a time when people smoked aboard commercial airline flights or while shopping for groceries – just doesn’t seem real but it was, you know?
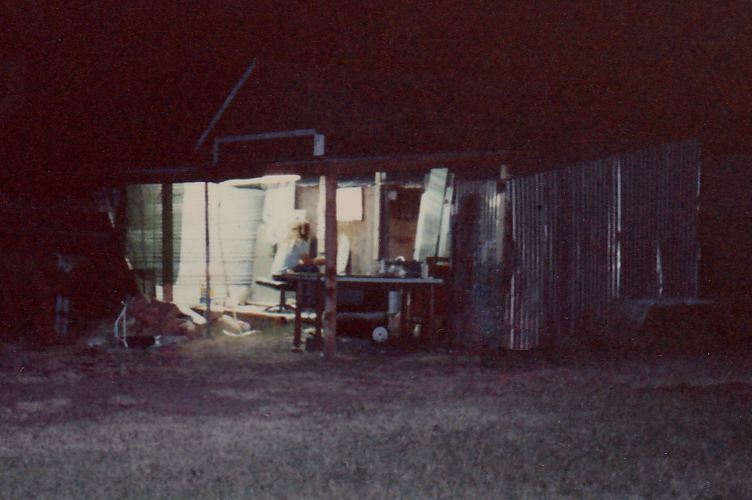
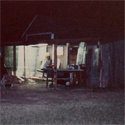 The other place where I was blasting back then was under a roof attached to an old shed, but still basically without walls. I came across this photo from 1987 that shows me working at night out behind a place I was renting in Chandler Arizona. I was also using the inside of the shed for building stained glass windows. As enjoyable as it can be to work outside, there are many disadvantages to deal with, such as the little gifts that cats leave for you in your sand.
The next time I was setting up, I decided Read the rest of this entry »
glass art, sandblast booth, Vancouver Wa.
March 9th, 2010 by Ron Branch
 Often the search queries that bring people to the websites of sandblasters look something like this: “How to build a sandblast booth” Here is a sample from this week alone:
– “build a sand blast booth”
– “large sand blast booth”
– “pictures of sandblasting booths”
– “sandblast booth”
– “sandblasting booth for glass”
– “walk in sandblast booth”
– “walk in sandblasting booths”
If this is the type of question that has brought you here and even if this means that you are “the competition” – I am more than happy to share what I know so far. I think the first one I did was in 1988 or 89. Since then I’ve built five others, improving as I went along. I’ll start back at the beginning and recount the whole learning process, which is on-going I can assure you. There is always more to learn, so if anyone reading this has any tips or suggestions I would certainly appreciate them. I’m going to have to break this epic tale into multiple posts, I had know idea it was going to be so long. To pull them all together simply click on the category tag at the bottom “sandblast booth saga” or follow this link to the next post.
glass art, sandblast booth, Vancouver Wa.
March 4th, 2010 by Ron Branch
 I’ve always relied on writing for peace of mind, brainstorming, problem solving, and channeling creative energy. It feels distinctly recreational. I hope this will hold true for writing about my work. With that in mind, I think it’s best I jump in without too much forethought or strategizing, and keep it … recreational if possible.
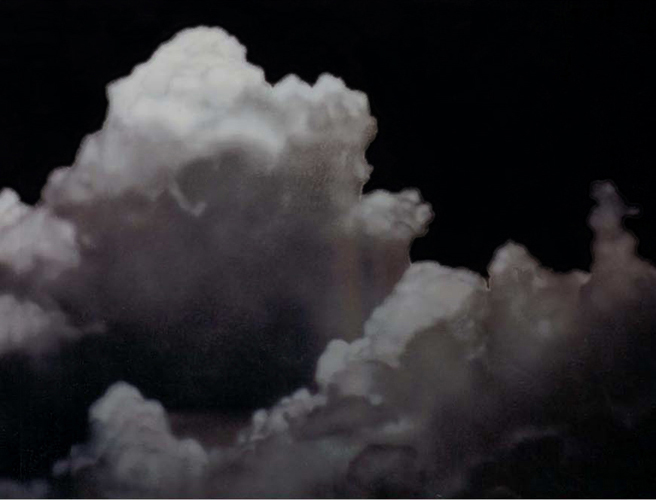
As a simple introductory post, I’m putting up this old picture I found of some clouds blasted more than twenty years ago. It marked a specific turning point in how I work. I was determined to find a way to get something other than the typical sharp edges created by cutlines , which I did manage to do, but with great difficulty. It took at least another 10 years before I became comfortable with the technique that evolved. In fact, it’s really STILL evolving. It seems like each new project teaches me a little more.
This “blurring of the edges” is useful for depicting so many things that are otherwise very difficult with sandblasting. You can see (click to enlarge) that it is not only the edges of the clouds that are softened, the interior workings are made up of not-so-sharp/not-so-soft forms as well. For some reason it was a long time before I started utilizing this to emphasize depth by blurring elements in the background or even the foreground. Once I started doing it though, it’s now hard to resist.
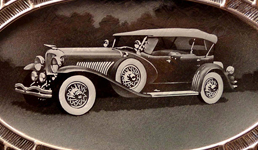 This car etched for Mercury Glass Co. was the first time that I can think of that I deliberately tried to blur the background to create a depth of field.
At the time I was also using this same technique to create the very controlled looking affects such as the high-light on the edge of the hood which is bright, bold, and somewhat sharp in comparison to the traditionally approached softer free-handed one on the back fender.


 Booth-building series Click this link to read from the beginning post.